Private DNS and access rules
Split DNS to your own resolvers, private zones, device names and default-deny access rules.
This page covers private name resolution for connected devices and the access rules that decide who can reach what. Both are in the team dashboard, under DNS and Policies.
Private DNS
Connected devices send only your private names to Yeap Access. Public names keep using the device's normal resolver.
Split domains
A split domain sends every name under a domain to your own DNS servers, for example your office's Active Directory DNS.
- Open DNS. The Split domains tab is shown.
- Click Add domain.
- Enter the Domain, for example
corp.example.com, and its Resolvers, comma separated, for example10.0.0.53. - Optionally limit it to some Groups. Empty means everyone.
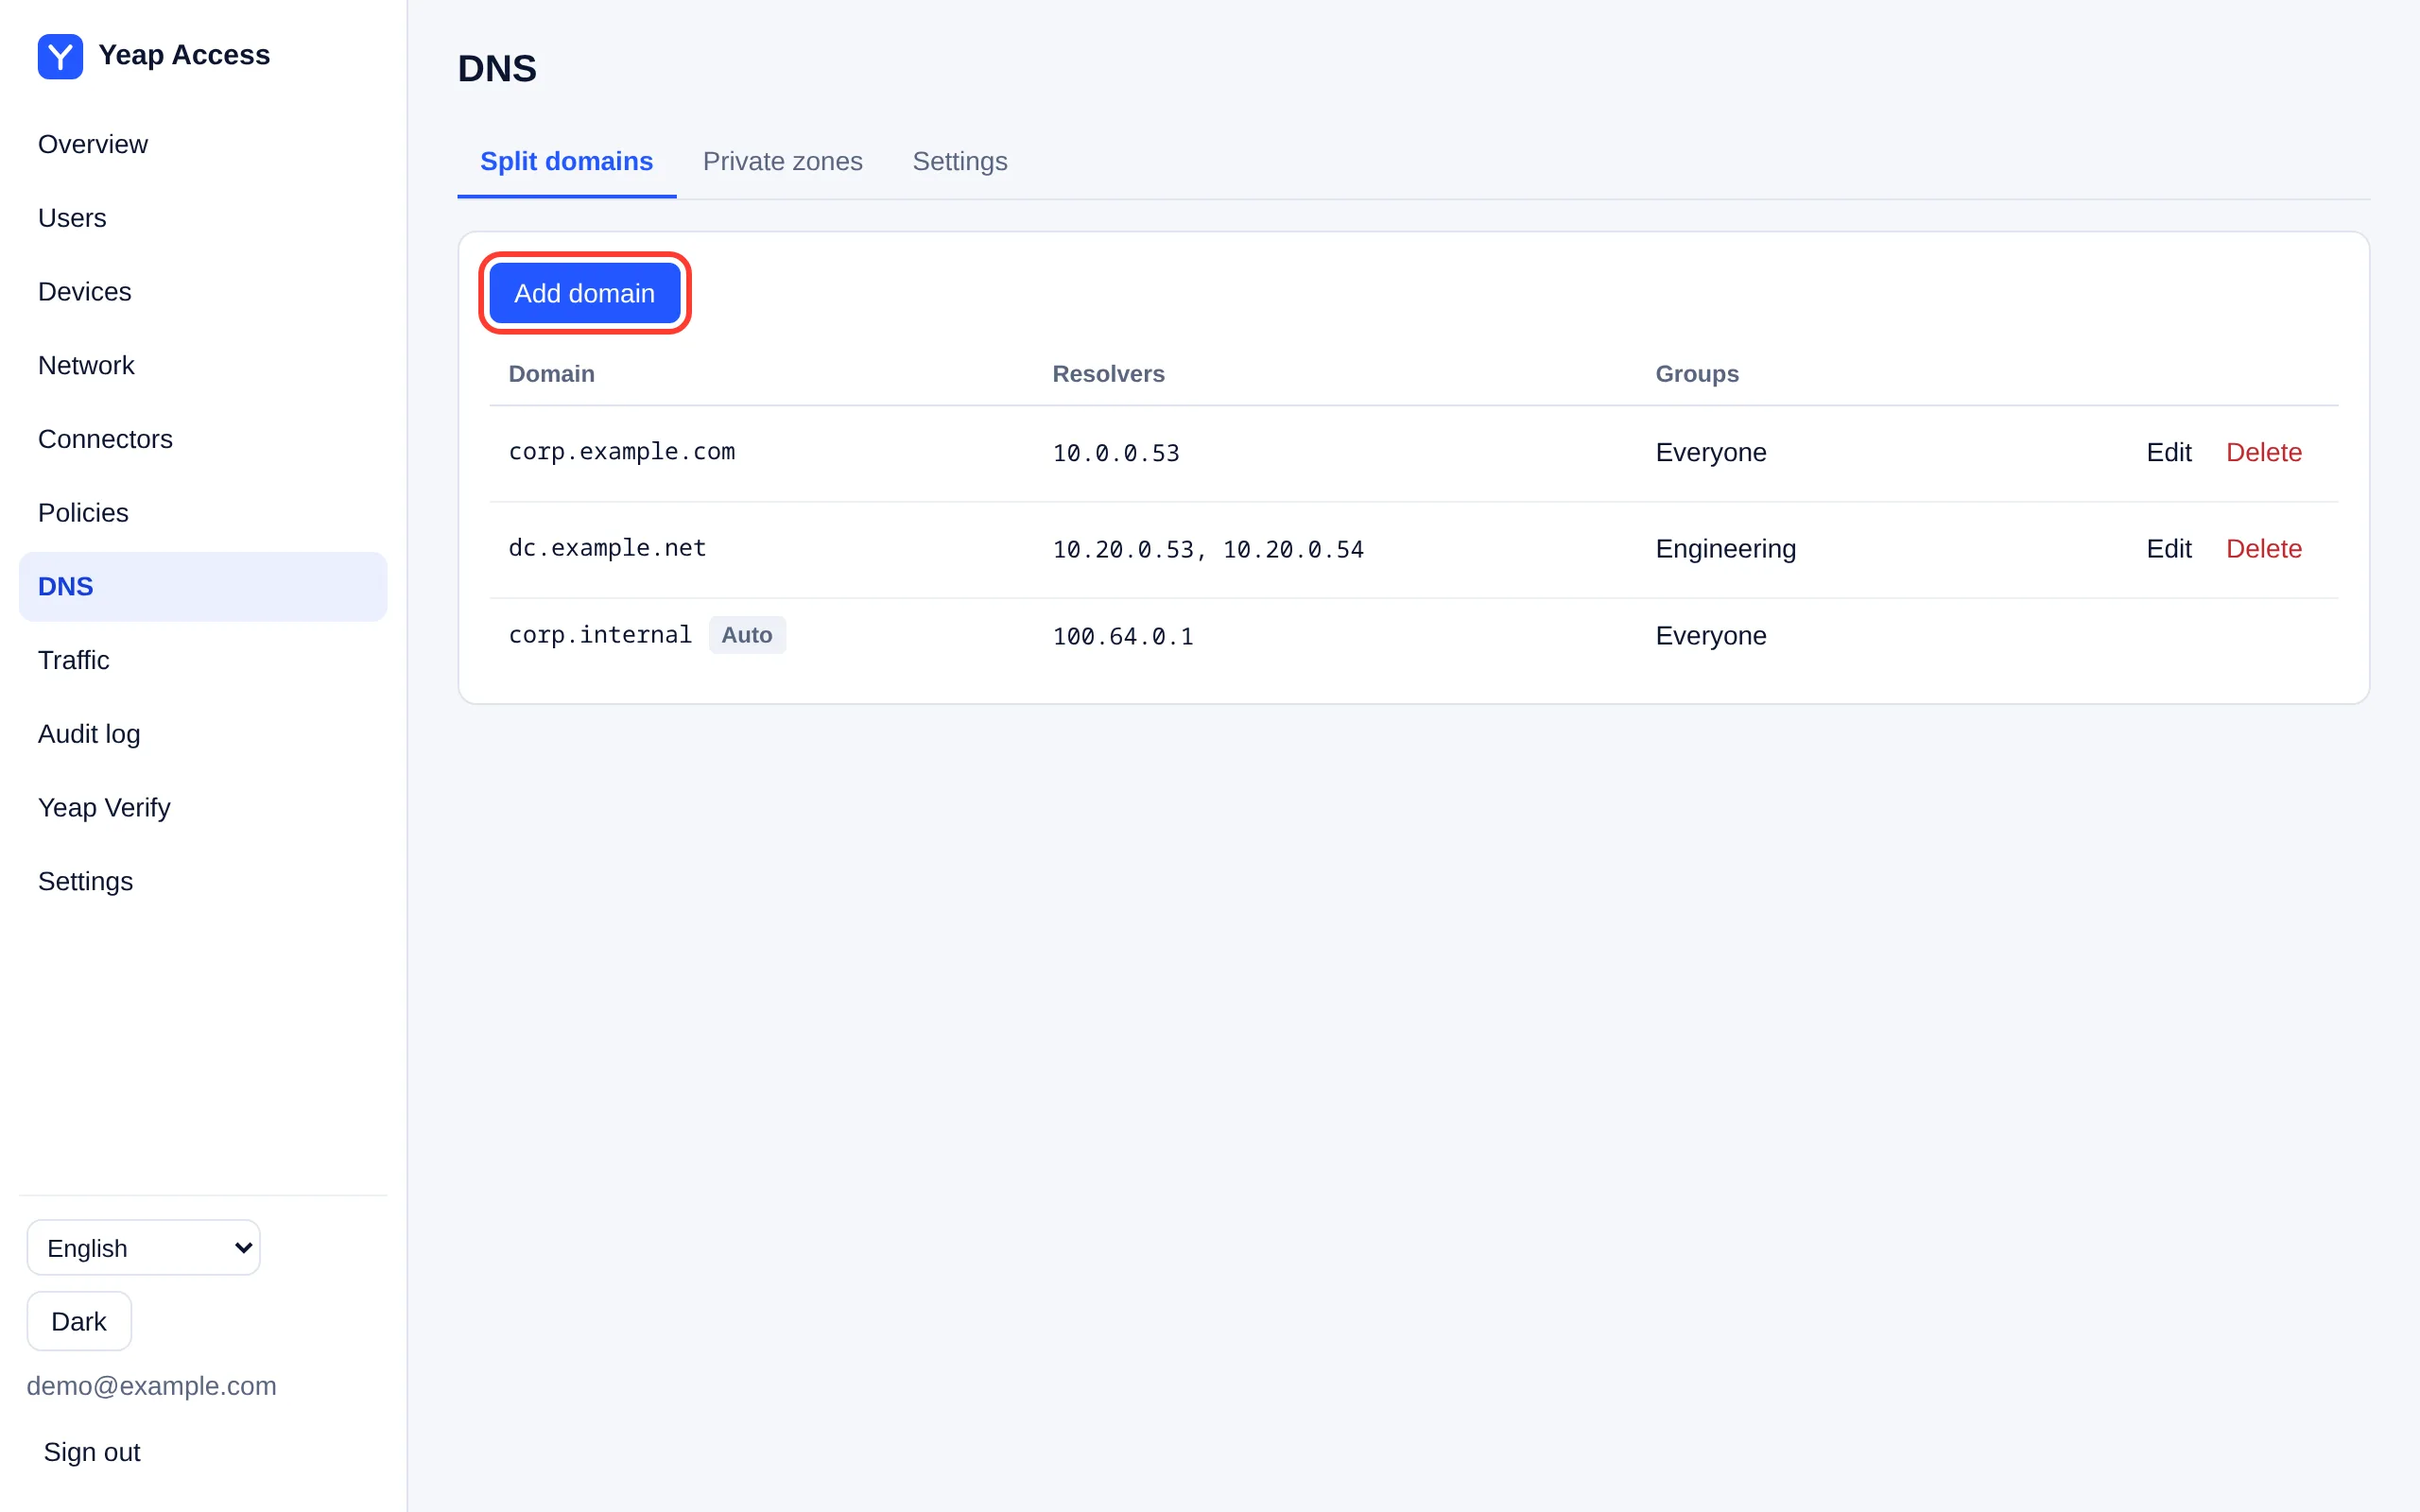
The resolvers must be reachable through an approved Connector route. The queries reach them through the Connector, so you do not need an access rule for DNS.
Private zones
A private zone holds records that Yeap Access answers itself, without a DNS server of your own.
- Open DNS → Private zones and click Add zone, for example
corp.internal. - Click Records on the zone, then Add record. Types:
A,AAAA,CNAME,TXTandSRV. The Name is relative to the zone, and@is the zone itself. Wildcard names are not supported.
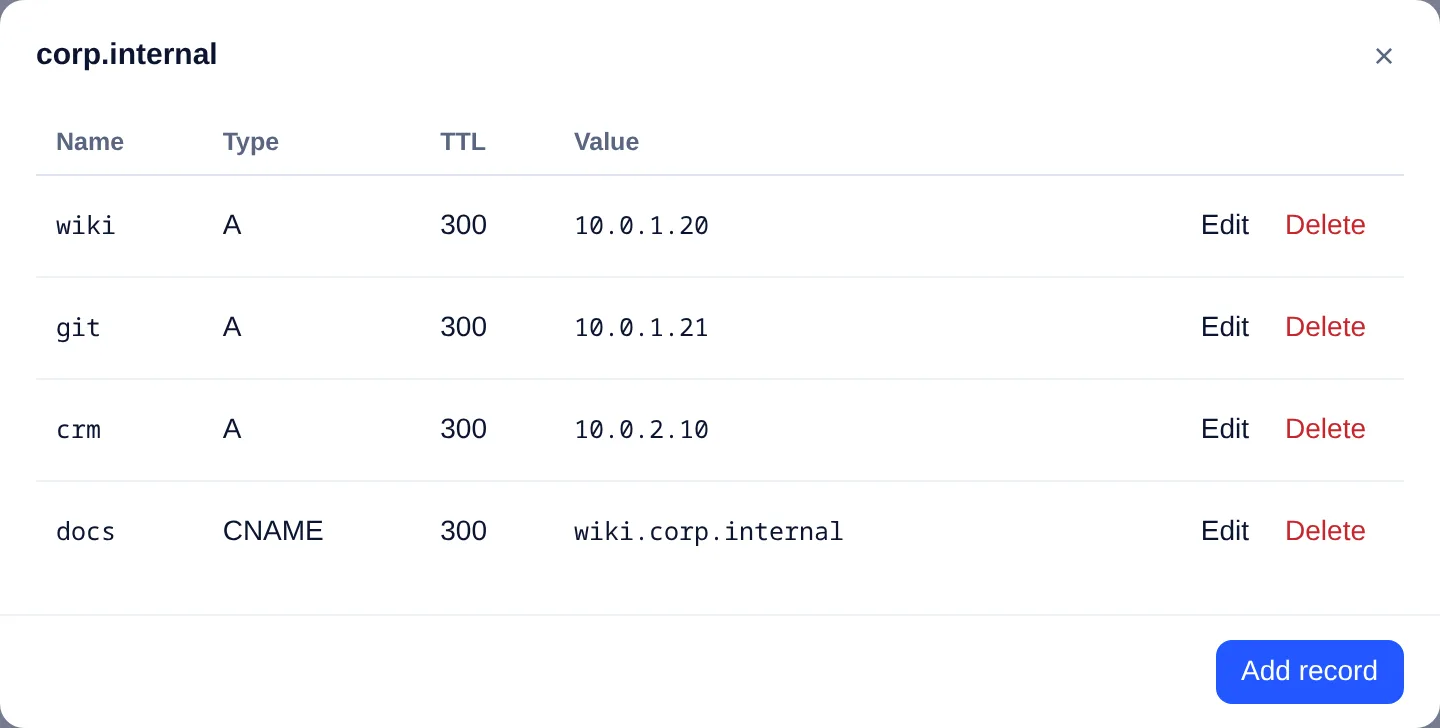
The zone is added to Split domains automatically, marked Auto.
Settings
On the Settings tab:
| Setting | What it does |
|---|---|
| Device name zone | Gives every device a name <device>.<zone>, for example alice-laptop.dev.corp.internal. Empty turns it off |
| Private DNS access | Groups that may use private DNS. Empty means everyone |
Access rules
Access rules are deny by default: a connection that no rule allows is dropped. This applies to traffic to your networks and between devices.
- Open Policies and click Add rule.
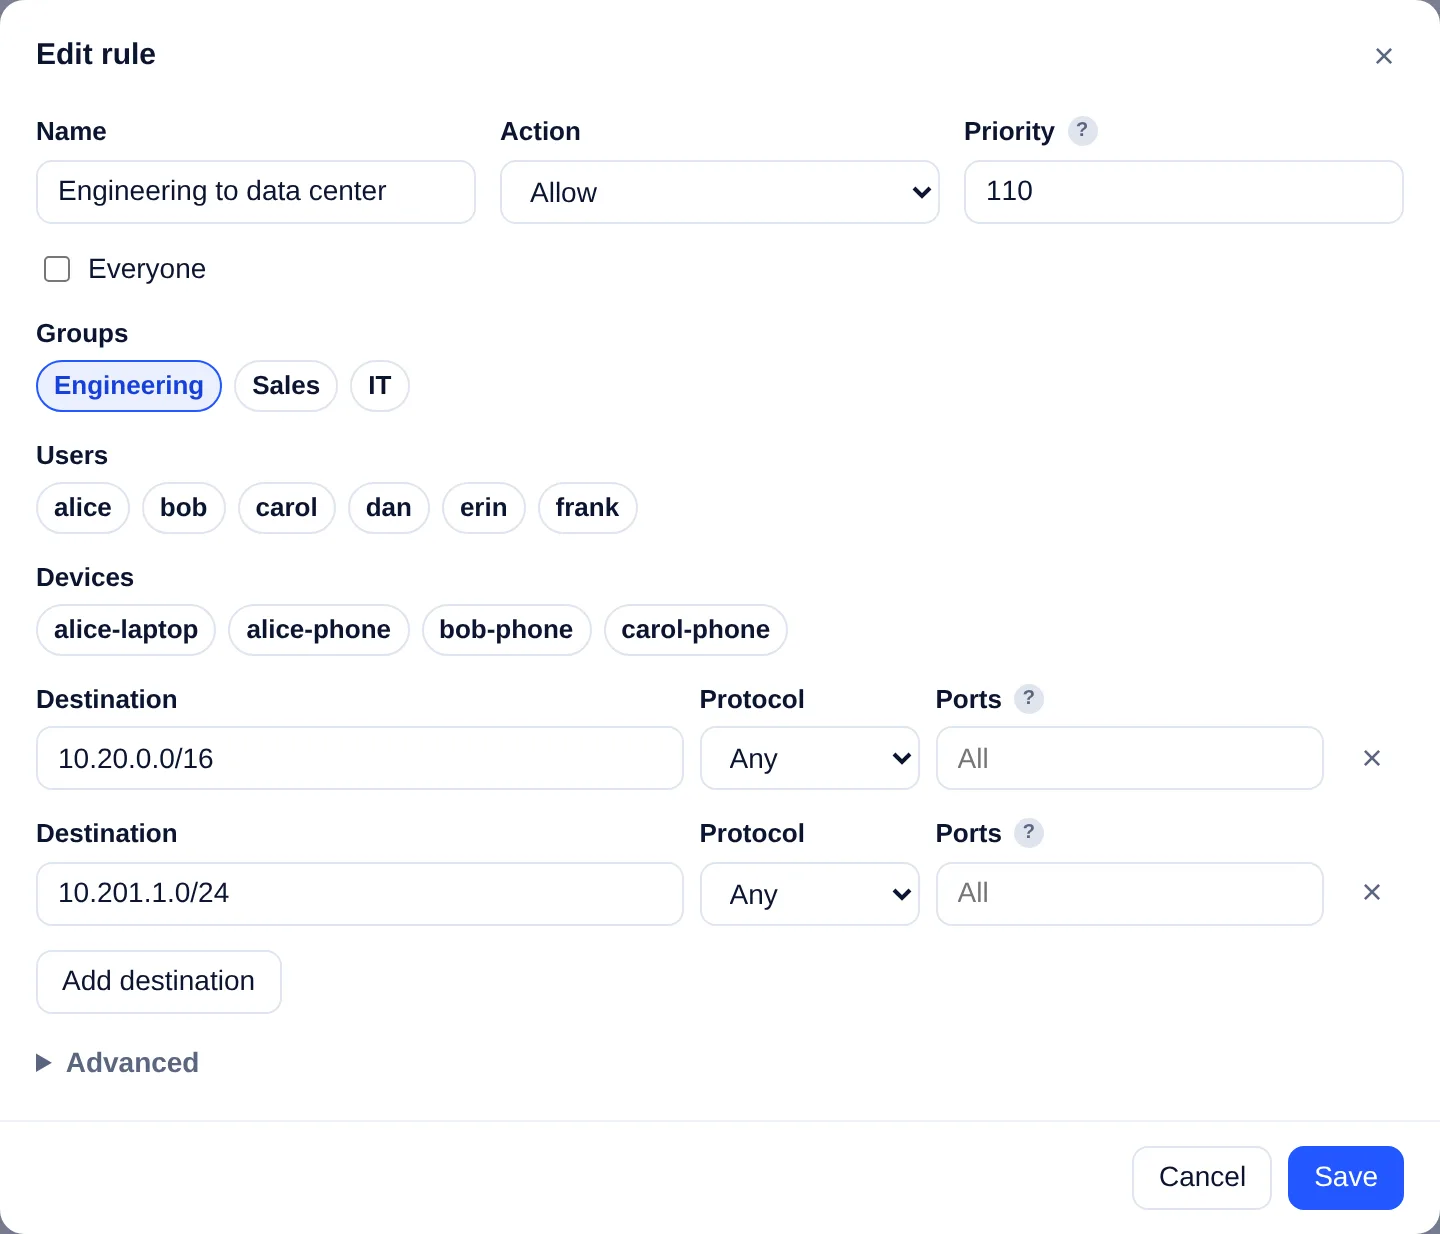
- Fill in the rule:
| Field | Meaning |
|---|---|
| Name | For your own reference |
| Action | Allow or Deny |
| Priority | Lower runs first. At equal priority, deny runs first |
| Everyone / Groups / Users / Devices | Who the rule applies to |
| Destination | An address or prefix, for example 10.20.0.0/16, with Protocol and Ports (443, 8000-8100; empty means all). Click Add destination for more |
- Click Save. The rule applies to connected devices at once.
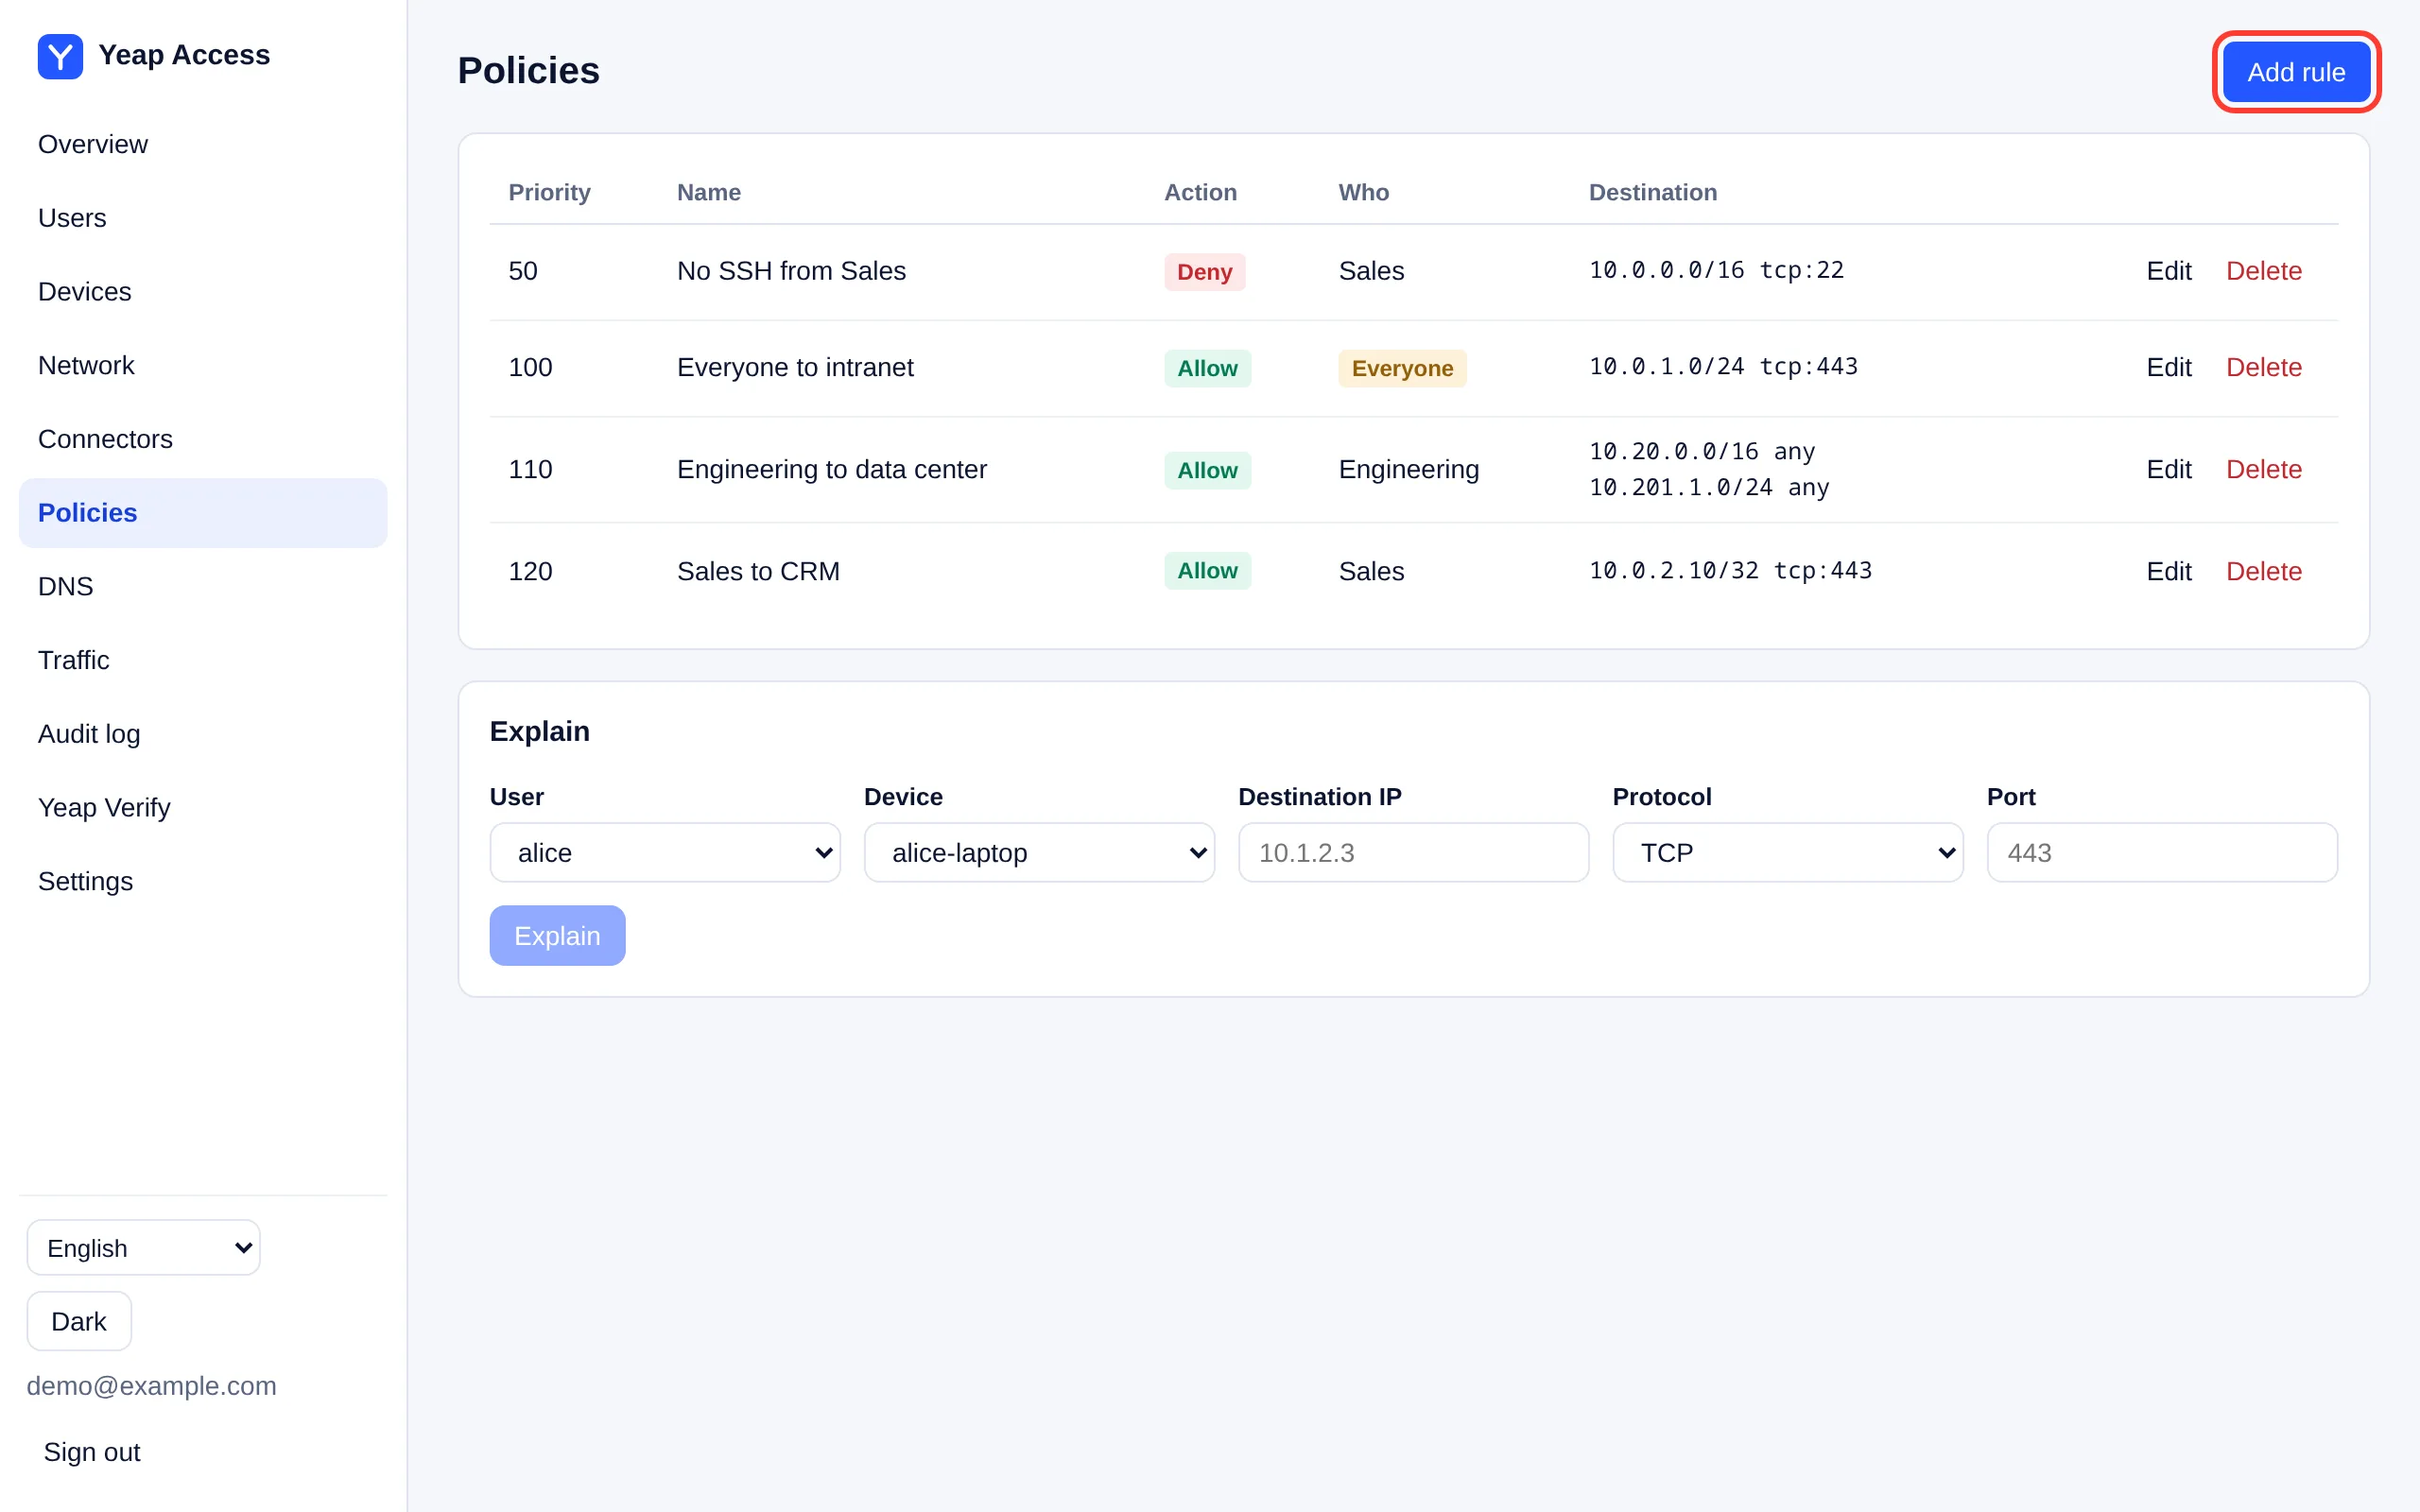
The first rule that matches decides. To make an exception, give a Deny rule a lower priority number than the broader Allow rule. For example, priority 50 No SSH from Sales denies TCP port 22 before priority 120 Sales to CRM is checked.
To let devices reach each other, allow the device address range, 100.64.0.0/16 by default.
Under Advanced you can disable a rule without deleting it, and add posture conditions. Posture is reported by the device itself; missing or stale values fail closed.
Check a connection
Use Explain at the bottom of Policies: pick a User and Device, enter a Destination IP, protocol and port, and click Explain. It shows whether the connection is allowed, which rule decided it and which route it would take.